1 The Structure of Teamer
General
Teamer is structured in a grid. The grid contains one or more channels, which you can choose in the toolbox on the left. Users can only see channels, which they are permitted to see.
Teamer is linked to the Programmer. In the left column of the calendar grid, you can see the planned programs. The events, which are planned for a certain time of the day, are shown in the right column next to the programs. The length of the events is shown in the calendar. Events, which last for one complete or more days (so-called Top Events) are shown at the top of the columns.
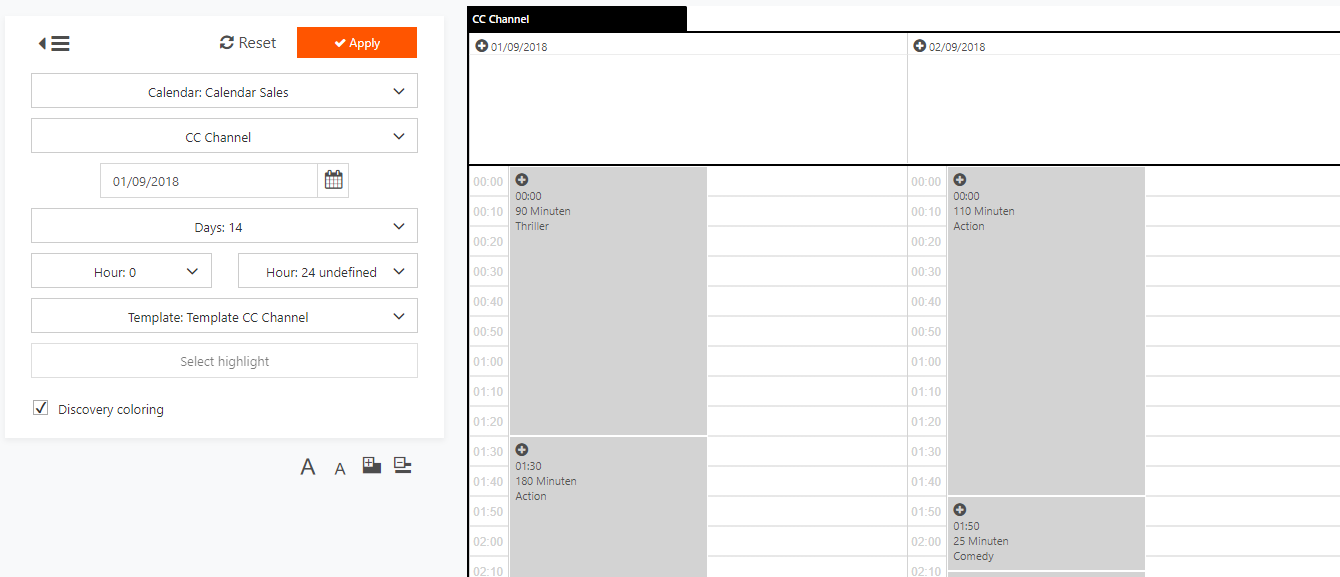
The toolbox on the left contains buttons and options.
Structure of the Toolbox
The user can individually adjust, what he wants to see. He can do this with the toolbox on the left.
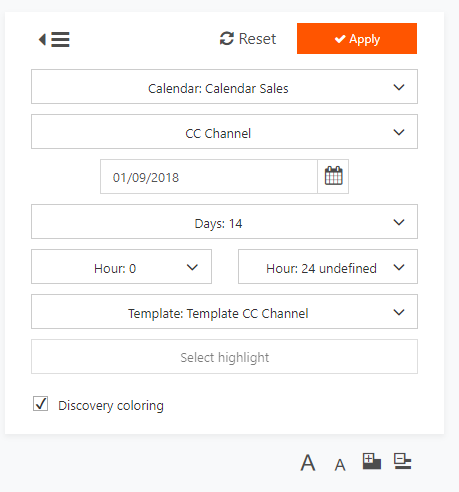
When the toolbox is not needed anymore, it can be hidden with the following button:
![]()
Calendars

In the first drop-down box of the toolbox, you can adjust, which calendars you want to see. Per default, all calendars are shown. You can add a calendar by clicking it.
You can select multiple entries; all selected entries are highlighted in blue. With the buttons Check all and Uncheck all you can either select all entries or deselect all entries at once. As soon as an entry is selected, it appears at the top of the list with a checkmark. To remove an entry, click on this checkmark. When you are pleased with your selection, click on the area next to the drop down box and activate the selected entries by clicking on the button Apply.
Channels
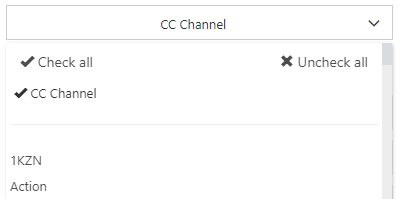
In the second drop-down box, you can adjust, which channels you want to see. Multiple channels are shown next to each other in the calendar grid.
You can select multiple entries; all selected entries are highlighted in blue. With the buttons Check all and Uncheck all you can either select all entries or deselect all entries at once. As soon as an entry is selected, it appears at the top of the list with a checkmark. To remove an entry, click on this checkmark. When you are pleased with your selection, click on the area next to the drop down box and activate the selected entries by clicking on the button Apply.
Timescale
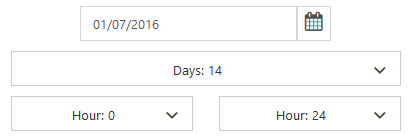
You can adjust the timescale of the calendar with the following fields:
- Date: A click on this field opens up a calendar, where you can select a day.
- Days: In this field, you can adjust, how many days you want to see next to each other in the grid.
- Time: These fields determine, which times of the day are shown in the calendar.
You can activate these adjustments by clicking Apply.
Templates
There are several templates for how events and programs are shown in the calendar. In order to edit these templates, go to the settings under Settings.
Highlights
With this field, you can filter for attributes of the program events. Only program events with all of the selected highlights will be shown.
Font Size
![]()
In the calendar grid, you can change between several font sizes with the buttons Increase font size and Decrease font size. With the button![]() , the font size is increased and with the button
, the font size is increased and with the button ![]() , the font size is decreased.
, the font size is decreased.
Size of the Timeline
![]()
The size of the events can also be changed by changing the intervals of the timeline with the buttons Increase time unit and Decrease time unit. By clicking the button ![]() , the size of the timeline is increased and by clicking the button
, the size of the timeline is increased and by clicking the button ![]() , the size of the timeline is decreased.
, the size of the timeline is decreased.
SmartSearch
Several modules of the WebSuite include a SmartSearch function. SmartSearch lets you to define specific search criteria and refine your search.
Create SmartSearch
Learn how to create a SmartSearch with the following steps:
1. Click SmartSearch  in the Search area.
→ The window Select Smartsearch opens.
2. Click on New SmartSearch.
→ The window SmartSearch setup opens.
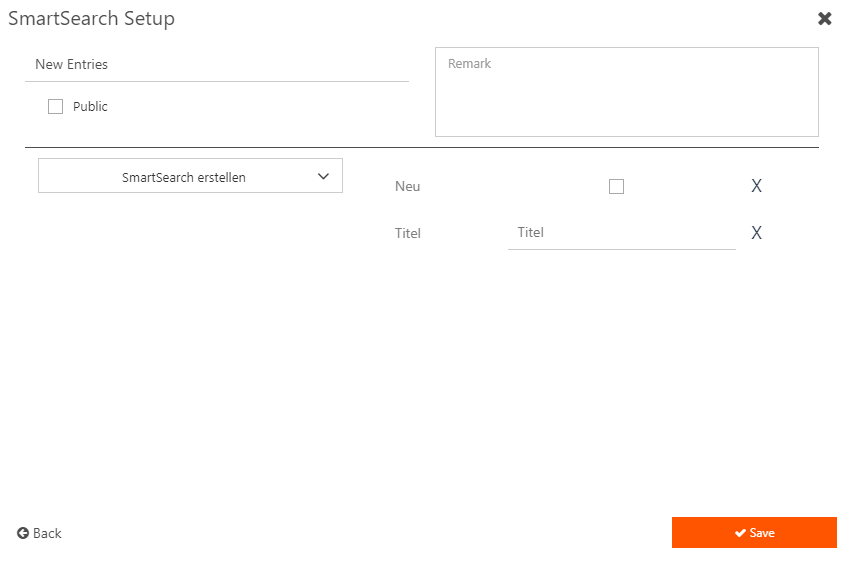
3. You can now configure the following properties:
- Title: Give your SmartSearch a specific name.
- Remark: Enter a remark for your SmartSearch.
Public: Activate this checkbox if the SmartSearch should be public.
Notice:
Please note that only users with the user right PUBLIC_SMRTSRC can edit public SmartSearches. All other users can use public SmartSearches, but cannot edit them.
- Video, Audio, Image, Project: These checkboxes determine whether the SmartSearch searches for certain objects or not. This is not available in every module.
Smartsearch erstellen: Choose a specific matrix from the drop-down menu.
You can choose several attributes. If you want to delete a selected attribute click the X on its right side.
4. Click Save.
The SmartSearch is now displayed in the window Select SmartSearch.
Apply SmartSearch
Learn how to apply a SmartSearch with the following steps:
1. Choose a created SmartSearch from the window Select SmartSearch.
2. Click Apply selected.
Edit SmartSearch
Learn how to edit a SmartSearch with the following steps:
1. Click SmartSearch in the Search area.
→ The window Select Smartsearch opens.

2. Choose one of the existing SmartSearches.
3. Click edit  .
.
→ The window SmartSearch Setup opens.
4. Edit the properties of the selected SmartSearch.
5. Click Save.
Delete SmartSearch
Learn how to delete a SmartSearch with the following steps:
1. Click SmartSearch in the Search area.
→ The window Select SmartSearch opens.
2. Choose one of the existing SmartSearches.
3. Click delete  .
.
→ The window SmartSearch will be deleted opens.
4. Click Confirm.

Special Features of the SmartSearch in Teamer
Starting a SmartSearch
If you want to start a SmartSearch in the tab Events, click the name of the SmartSearch.
![]()
If you want to filter the results of the SmartSearch, you can search for a title of an event in the input field next to the name of the SmartSearch.
![]()
In order to do this, enter a search term into the input field and apply with the [ENTER] key.
If you want to go back to all results, delete the content of the input field and apply with the [ENTER] key.
Selecting a Different Time Range for the Results
The results of the SmartSearch are shown in the third column.
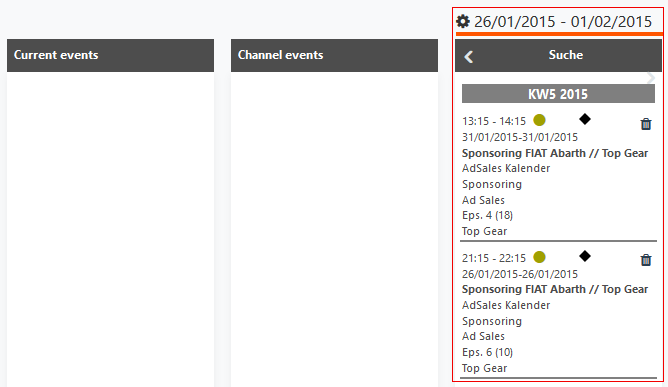
In this column, you can also select, in which time range you want to search. In order to do this, please proceed as follows:
- Press the
 button.
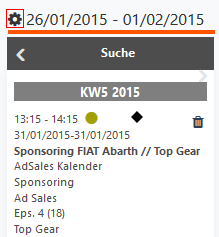
→ A settings dialog opens.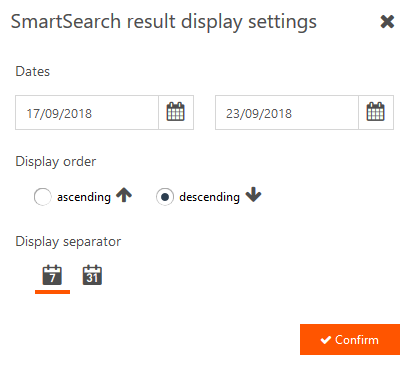
- Under Date range, please select the time range in which you want to search.
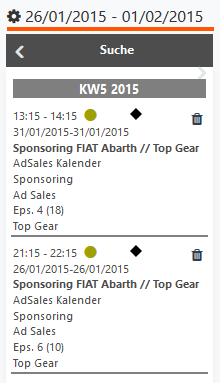
- Under Display order, please select if you want to see the results ascending (ASC, image 1) or descending (DESC, image 2) based on the date.
| Ascending | Descending |
|---|---|
|
|
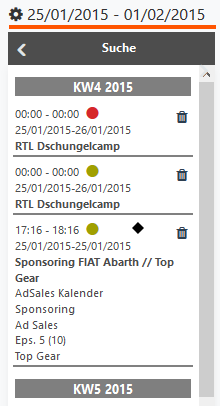
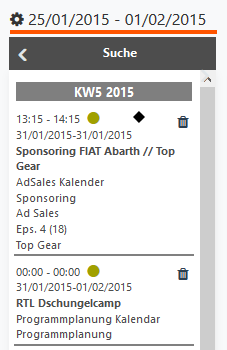
- Under Display separator, please select if you want to see the results structured by weeks (
 , image 1) or months (
 , image 2).
| Weeks | Month |
|---|---|
|
|

- Apply your selection with Apply.
→ The results will now be shown according to your settings.