2 The functionality of Teamer
Creating Events
Creating a Plan Event
A Plan Event is an event which is linked to a program. When the program is moved, the Plan Event will also be moved. A Plan Event can also be linked to a series episode. Plan events can not be moved freely.
In the calendar grid, plan events are marked with a dark rhombus:
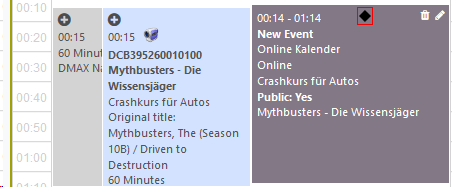
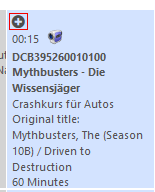
To create a new plan event, please click the button in the upper left corner of a program.
→ The dialog Create new calendar event opens.
Watch the video here
|
|---|

Creating a Slot Event
A Slot Event is an event which is linked to a slot. When the slot is moved, the Slot Event will also be moved.
To create a slot event, please click the button  in the upper left corner of a slot.

→ The dialog Create new calendar event opens.
Creating a Top Event
Top Events are events, which contain one or more complete days. They are shown above the calendar.
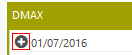
To create a top event, please click the button next to the calendar day.
→ The dialog Creating a new top event opens. This dialog is similar to the dialog Create new calendar event. The only difference is, that you can enter an until date, so that top events can stretch over several days.
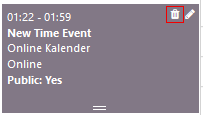
Creating a Time event
The Time Event can be planned for a certain time. It is not linked to any programs.
To create a time event, please double-click an empty space in the calendar grid.

→ The dialog Create new calendar event opens.
Watch the video here
|
|---|
Changing Events
Editing Events
To edit an event, click the Button Edit in the upper right corner of an event.
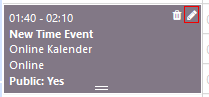
→ The dialog Edit event opens.
Watch the video here
|
|---|
Moving an Event
Events, which are not linked to a program or a slot (time events), can be moved per drag-and-drop.
Watch the video here
|
|---|

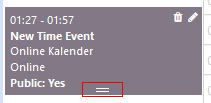
Shrinking or Enlarding an Event
Events, which are not linked to a program or a slot (time events), can be shrunk and enlarged by dragging the two horizontal bars at the bottom of the event up or down. In order to do this, move your cursor over the two bars, until your cursor becomes a double arrow. Then drag the event to the desired length.
Watch the video here
|
|---|
Deleting an Event
To delete an event, click the button Delete in the upper right corner of an event.
→ The following dialog opens:

Proceed with Confirm.
Watch the video here
|
|---|
Copying an Event
Content of events can be copied to the clipboard in order to be reused in other programs like Microsoft Excel or Microsoft Outlook.
To copy content from an event, select the event you want and click the button Copy.
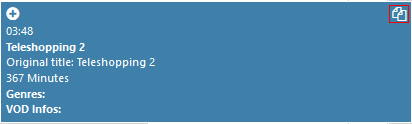
→ The popup "Text copied to the clipboard" appears on the upper display.
The copied content from the selected event can now be reused in another program.
Watch the video here
|
|---|