Asset Features
Upload Asset
Learn how to upload an asset with the following steps:
1. Click in the Searcharea![]() Upload Asset.
Upload Asset.
→ The dialog Upload opens.
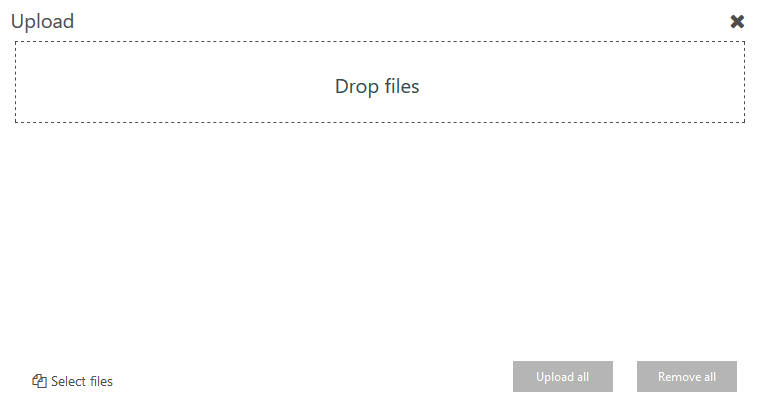
2. In order to upload files you can choose between the following two options:
| 2a) Upload with drag&drop | 2b) Upload with Explorer |
|---|---|
| Click in the dialog → The windows explorer opens. Choose a file from your System and confirm your selection with Open. → The file will be displayed in the dialog.
|
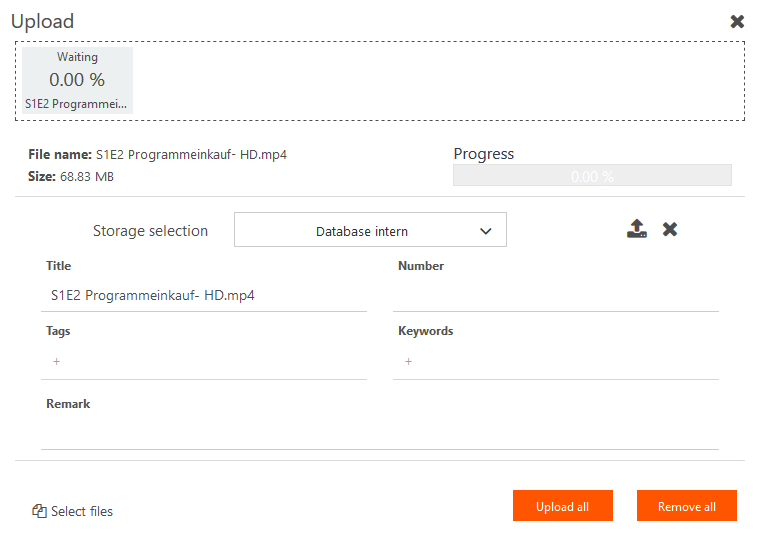

3. Within the dialog set your desired settings for the upload.
The following options are available:
4. Click on![]() Upload.
Upload.
→ The selected file will be upload as your new asset. Watch the progress of your upload with the build-in upload-bar.
Your uploaded asset will be displayed with its correspoding title within the Contentarea.
Create Asset
Created Assets are filled with metadata. This way a connection between the asset and the ContentExplorer can be made.
The actual content (video, audio, image) will be linked with the database.
Learn how to create an asset with the following steps:
1 Click in the Searcharea on ![]() Create New Asset.
Create New Asset.
→ The dialog Create new Asset opens.
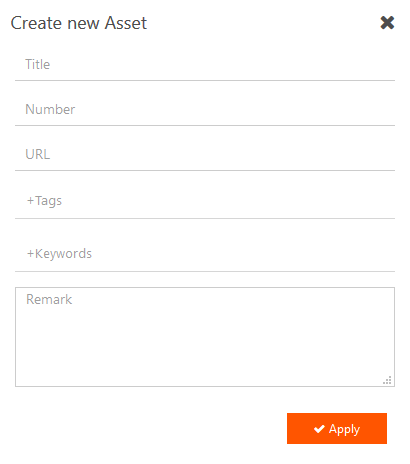
2. Within the dialog set your desired settings for your asset.
The following options are available:
3. Click on ![]() Apply.
Apply.
→ The new asset will be added to the Contentarea.
Edit Asset
Learn how to edit an asset with the following steps:
1. In the Contentarea, go with your cursor over an asset and click ![]() edit.
edit.
→ The editing dialog of the selected asset opens.
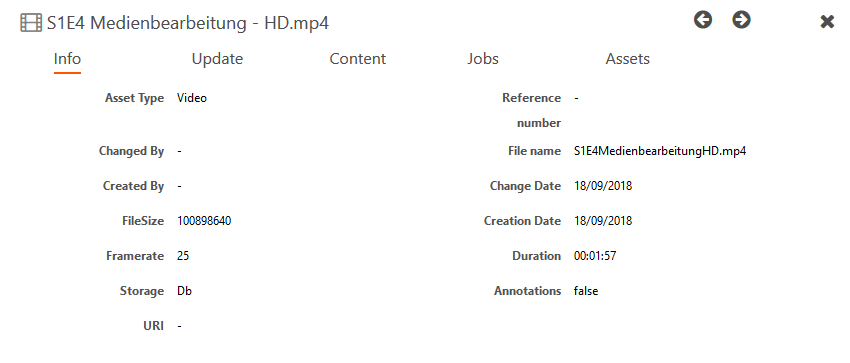
Within the dialog you can make changes to the following settings:
| Info | refresh / update | Content | Job | Asset |
|---|---|---|---|---|
Overview of all settings and information about the asset. No settings available. | Edit the information of an asset
| Connection of assets with content types in order to add a program. Search for content types. | Add a thumbnail to your asset. Is the asset file stored in an Azure database you can add jobs like:
Read more about performing jobs here. | Connect multiple assets with each other. |
2. Click on the tab Refresh in order to edit information of the selected asset.
3. Enter your new information for the asset in the according fields.
4. Click on ![]() Update.
Update.
5. Click on ![]() Exit to close the dialog or on
Exit to close the dialog or on ![]() Next asset, to edit the following asset.
Next asset, to edit the following asset.
Download Asset
Learn how to download an asset with the following steps:
1. In the Contentarea, go with your cursor over an asset and click ![]() delete.
delete.
→ Depending on your browser, the dialog for downloads opens. You can now download the asset to your system.
Delete Asset
Learn how to delete an asset with the following steps:
1. In the Contentarea, go with your cursor over an asset and click ![]() download.
download.
→ The dialog Content will be deleted opens.
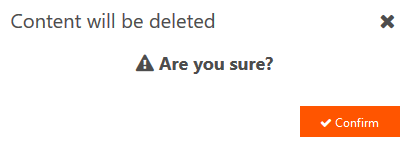
2. Click on ![]() Confirm.
Confirm.
Mark Asset as a favourite
Learn how to mark an asset as your favourite with the following steps:
1. In the Contentarea, go with your cursor over an asset and click on ![]() Add to favourites.
Add to favourites.

→ The asset is now in your list of favourites.
You can open your favourites by clicking in the Searcharea on ![]() Favourite Asset.
Favourite Asset.
Remove Assets as a favourite
Learn how to remove an asset from your list of favourites with the following steps:
1. Click in the Searcharea on ![]() Favourite Asset.
Favourite Asset.
2. In the Contentarea, go with your curser over an asset of your choice and click on ![]() Favourite.
Favourite.
→ The asset will be removed from the list of favourites.
Delete Asset from folder
Learn how to delete an asset from an folder with the following steps:
1. Click in the Searcharea on ![]() Folders.
Folders.
→ The dialog Select folder opens.
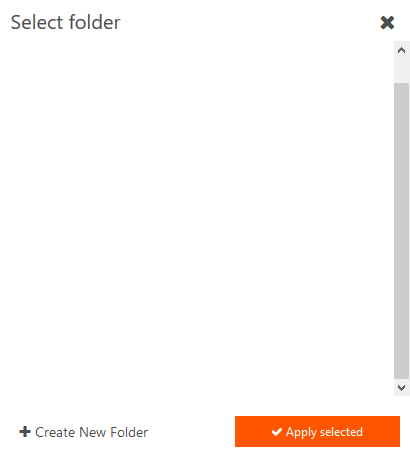
2. Select the folder from which you want to remove an asset.
3. Confirm your selection with ![]() Apply selected.
Apply selected.
4. Click on the selected folder to display its content in the Contentarea.
5. In the Contentarea, go with your cursor on the asset and click ![]() Delete from folder.
Delete from folder.
→ The asset will be removed from the folder.