Annotation area
Buttons in the Annotation area
Button | Label | Description |
| Rating | Displays the current rating of the FSK |
| Start screening | Starts the screening process |
| Stop screening | Stops the screening process |
| Reopen screening | Reopens the screening process |
| Matrix field | Enables the input of Matrix abbreviations |
| Matrix selection | Dropdown menu with a list of matrices for generating annotations |


Editing toolbar for screening
The Annotation area includes the editing toolbar which allows the configuration of the screening process and the generation of annotations.
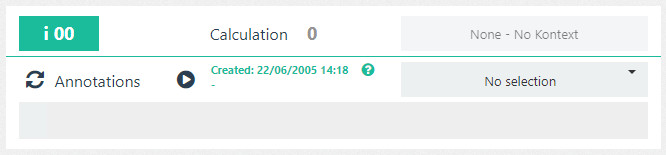
Start screening and generate annotations
You can start and finish the screening in the Annotation area as well as generate or delete annotations within the same process.
Start Screening
Follow the instructions in order to start the screening:
- Search for video content with the search function in the Search layer.
- see here: Search layer.
- Choose on of the search results.
→ The video content will be played automatically in the Media Player. - Choose a Matrix (for example DC: Jugendschutz_V3) from the editing toolbar in the Annotation area.
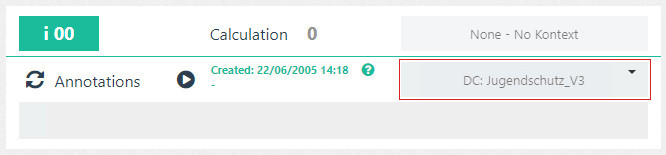
- Click "Start screening"
 .
.
→ The screening starts and the button changes to "Stop screening" .
.
Generate annotations
After the screening has started, you can generate annotations. To do so, follow these instructions:
- View the selected Video content within the Media Player and search for a position which should be marked as an annotation.
- Click Pause in the Media Player.
- Enter a Matrix abbreviation in the Matrix field.
→ Start with the first letter of the Matrix abbreviation. A dropdown menu appears and displays available Matrix abbreviations. In order to choose one from the selection, enter the specific letters / numbers of the Matrix abbreviation you want. (for example. G3.3a for "G3.3a Tiertötung wird thematisiert")
- To confirm the Matrix abbreviation, press return.
→ The annotation is displayed with a thumbnail from the paused video content, a timestamp and the chosen matrix abbreviation. - You now have the options of generating more annotations to the list, deleting existing annotations, or stopping the screening.
Delete Annotations
You can delete generated annotations from the Annotations area.
Follow the instructions in order to delete annotations:
- Click "Start Screening" or "Reopen Screening" in the Annotation area
- Click "Delete annotation"
 .
.
→ The window "Delete annotation" opens.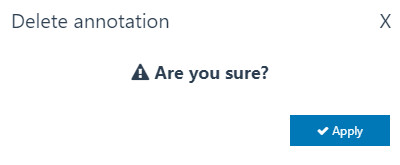
- Click "Apply"
 .
.
Stop Screening
- To stop a running Screening click "Stop screening" in the Annotation area
→ The window "Finish screening" opens
- Click Apply .
→ The window Screening protocol opens.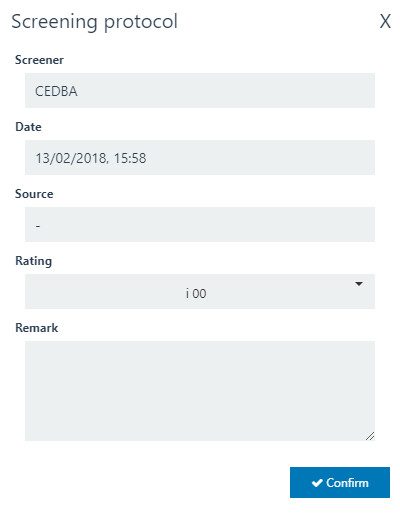
- You can now enter or edit the following properties:
- Screener: Filled automatically with the name of the screener but can be edit manually.
- Date: Filled with the current date but can be edit manually.
- Source: Enter a source for the protocoll
- Rating: The FSK-Rating is generated automatically with the matrix but you can change it manually.
- Remark: If you changed the FSK-Rating enter a remark.
Click Confrm
 .
.
→ A PDF-File with the generated report will be downloaded automatically.You can also generate the Report as an XML-File.
Screening-Report as an XML-File
After the screening is finished you can generate the report as an XML-File. Follow the instructions as displayed:
- Click Generate XML
 in the Search-Area.
→ The report of the last screening will be generated and downloaded as an XML-File.