3.1.6.1 Creating an asset for a program version/trailer version
Edit program only: An asset can be created or edited for the program version that is selected in the General tab. In this case, the assets of other versions of this program CANNOT be edited and are therefore marked in gray color. For editing these assets you have to switch to the respective program version in the General tab beforehand. Each program version can be located on several assets. The lower area serves to view and edit the asset positions of the asset selected above. Here the same principles are valid as in the upper window: If the selected asset position is related to a version that is NOT selected then this entry is marked in gray color. In case you chose the asset position of a selected asset, the entry is marked in green and can be edited.
To create a new asset please proceed as follows:
- Edit program only: Please make sure that the correct program version is selected in the General tab before switching to the Assets tab.
- Select the button Create a new asset (a completely new asset is generated for the selected version) or search for an existing asset to use it for the selected version via the button Create new position using an existing asset).
- On creating a new asset please enter the name of the asset in the new line and select the material type from the drop down list. Enter the number and additional numbers if necessary.
- Define the kind of asset and the asset format and length.
- Depending on the asset/kind of asset, you can select the stock, the stock area type and the storage area.
Buttons
The following buttons serve to edit and view further details to the asset:
| Symbol | Mouse over | Description |
|---|---|---|
| Create new asset | By clicking this button a new line is inserted in the upper window of the "Assets" tab. Here you can specify the features of the new asset. |
| Deletes the selected asset | This button serves to delete the marked line. |
| Shows information on the date and user that created or changed the asset | A dialog gives information on the user (user name and create date) who created the selected asset and on the user (user name and change date) who changed the data. |
| Access asset dialog | To enter further information to the asset you can open the "Edit asset" dialog and save the data in the various tabs. |
| Create new position extending an existing asset | This button opens the search dialog for assets. Here you can search for the desired asset and use it. |
| Create a new reel | In case a program version is too long for fitting on one asset (e. g. an opera) you have the option to create a second and even third reel for the asset. All reels of an asset represent the material set of one asset. The newly created asset inherits the parameters of the original asset. The reel number is incremented by one automatically. |
| Automatically generate reference number | This button serves to generate an asset number. The number is generated due to a mechanism in the program. |
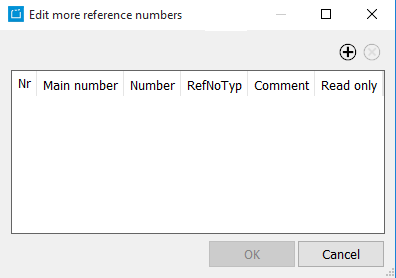
| Opens a dialog to edit more reference numbers | This button opens a dialog to edit additional reference numbers. Here you can enter a further number to the existing reference number and define the main number.
|
| Fetches the closest free storage area | In stocks that use an automatic storage area administration you can store the new asset in the next free storage area via this button. This function is user specific. For more information, see 1.6 Options and Program Options |
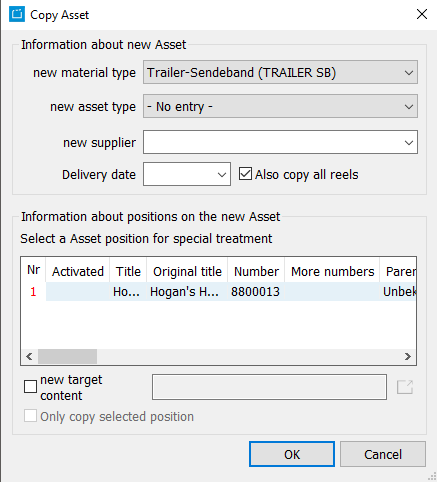
| Copy asset | Here you can insert a new line by copying the asset. By means of the dialog Copy asset, you can define which information (material type/supplier and which asset position information will be copied.
You also may copy the current asset including the asset positions from one episode to several others. To do this, please select the button New target content and mark all required items via multiselection. The asset/asset positions of the current asset are copied to all selected episodes. |